Accepting Multiple Punch list Items
To accept a punch list, all the outstanding punch list items must be cleared and accepted. You can clear multiple punch list items as shown below.
1. On the Completions menu, click Punchlists.
2. Search for punch lists by criteria.
3. On the Punchlist Search Results page, click the View link for the punch list you want to generate.
4. On
the Punchlist Details page, click
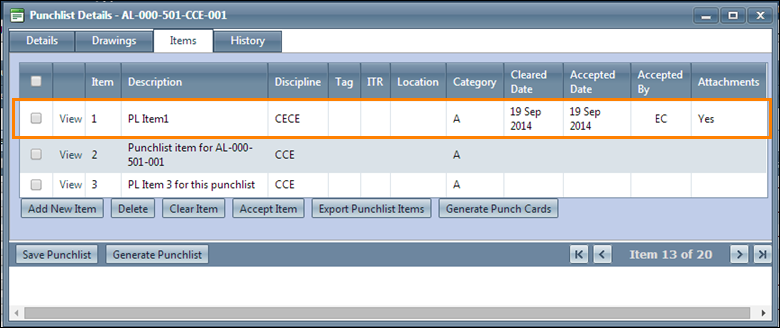
the Items tab.
The list of punch list items associated with the tab is displayed.
5. Select the punch list items to be cleared.
6. Click
Clear Item.
The Insert Inspector Details window
appears.

7. Select Inspector Name and Inspection Date from the list.
8. Click
Sign off.
The punch list items have been successfully signed off message
appears.
Note - The Inspection Date must be either the same as the Date on which the Item was added or a later date.
9. Click Accept Item.
10. Repeat
steps 7 and 8 for Accepting the items.
The punch list items are accepted. The image looks as shown below.